This recipe for Fermented Radishes is a great way to start your fermentation journey. Whether you are a beginner or an expert fermenter, this recipe breaks down everything you need to know from equipment to fermenting safety. All you need are a few simple and fresh ingredients as well as time to make this lacto-fermented radish recipe.
This recipe is featured in my 11 Easy and Straightforward Fermentation Recipes post.

Table of Contents
What is Lacto-Fermentation?
Fermentation (more precisely lacto-fermentation or lactic acid fermentation) involves submerging vegetables and/or fruits in a brine solution (salt and water). Rather than killing bacteria (like pickling does), this process takes a different approach.
When done correctly, fermentation kills or suppresses the bad bacteria while giving the beneficial bacteria a chance to thrive. This process transforms the vegetables and/or fruits into healthy, probiotic-rich lacto-fermented food.
If you’ve ever tasted kimchee, fermented cabbage (sauerkraut) or red cabbage sauerkraut, you’ll notice they have an acidity to them that is different from a traditional vinegar pickle. They taste tangy as opposed to pickled. Furthermore, they may even tingle on your tongue. This fizziness is attributed to the carbon dioxide that is generated in the fermentation process.
I suggest you read my comprehensive post on lacto-fermentation, especially if you are a beginner or this is your first time fermenting. It’ll give you all the basics you need to confidently ferment all the vegetables!
If you are looking for a pickled radish recipe, I suggest you take a look at my Refrigerator Pickle Recipe or my Danmuji (Pickled Korean Radish) recipe.
Ingredients
One of my most simple ferment recipes, it together with a few simple ingredients from your pantry, fridge or garden. The most important thing to remember here is to use the freshest radishes you can get your hands on.

- Radishes: Fresh, organic radishes are recommended. Don’t use ones sold in bags. Buy them by the bunch. Try my fermented beets recipe too!
- Salt: When fermenting, use kosher salt, pickling salt, or sea salt. Avoid using table salt as it has added iodine which can possibly hinder fermentation.
- Garlic: Another classic ingredient. I love using garlic in ferments but the choice is up to you.
- Spices: For this recipe, I am including black peppercorns but you can totally add other spices here. Get creative. I recommend you use whole spices rather then ground so that you don’t end up with spices floating around the brine.
- Vinegar: I like using neutral white distilled vinegar as it won’t affect the overall flavor, but feel free to use another acid like white wine vinegar, apple cider vinegar, or even lemon juice or lime juice. Avoid using dark vinegar like balsamic or red wine. Adding vinegar is optional, but I recommend it as it helps balance out the flavor and will also help with preserving the pickles for longer in the fridge.
See the recipe card for full information on ingredients and quantities.
The Right Salt to Water Ratio (Salt Brine)
For this recipe, you will be using a saltwater brine solution to ferment the radishes. This is also known as submersion salting. Brining is used when you are fermenting fruits and vegetables that do not have too much water content or if you’re fermenting them whole.
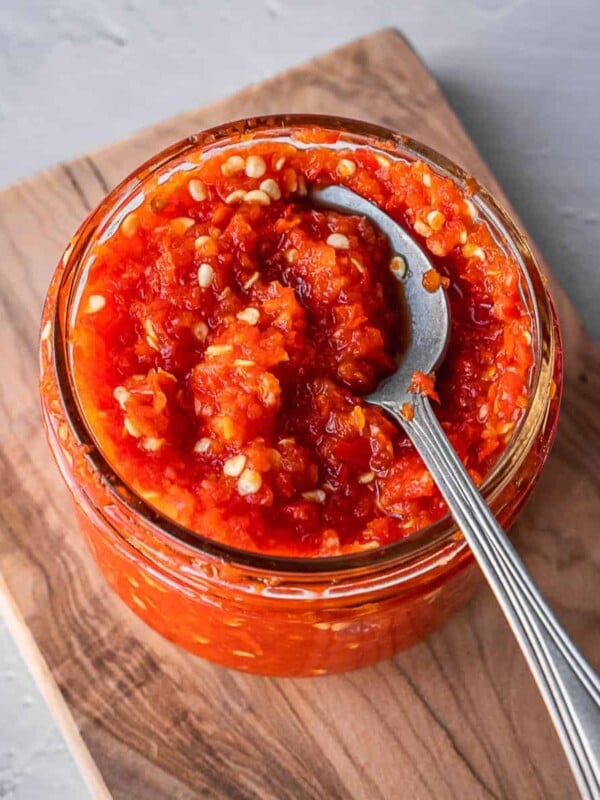
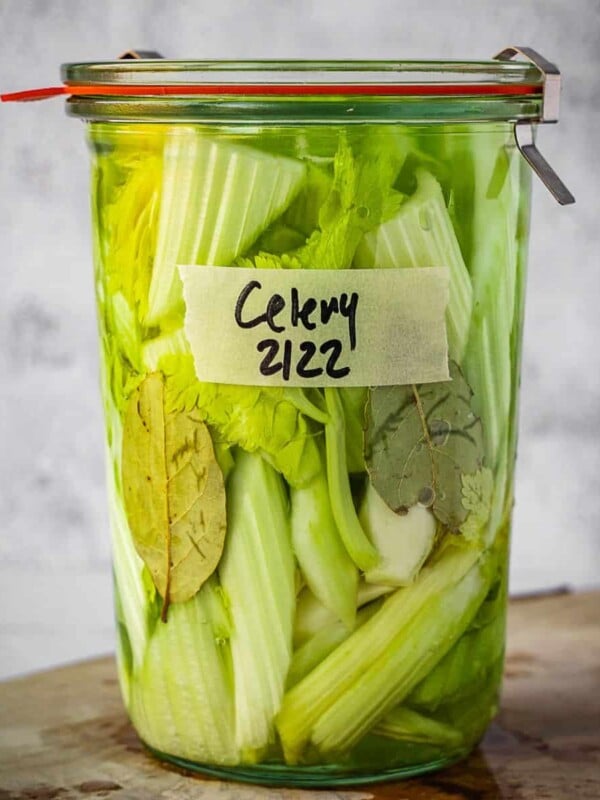
This technique can be applied to hot peppers (for fermented hot sauce), garlic, fermented carrots, giardiniera mix, fermented tomatoes, fermented jalapenos, fermented celery, and of course fermented cucumbers.
Filtered water or spring water is preferred over tap water because the chlorine in tap water could affect fermentation. I recommend a 3.5% salt solution. This translates to 3.5 grams of salt per 100 grams of water. A good place to start is 1 tablespoon of sea salt or kosher salt to 2 cups of water (which works out to 17g of salt to 475g of water – a 3.5% ratio).
Equipment and Supplies
Fermentation lids (also known as airlock lids) are not essential, but highly recommended. This is a lid with a valve that allows gasses to escape safely. It fits directly onto your jar. There are several options like the Klemon and Masontops (affiliate links).

You can use a standard lid and unscrew it twice a day to let any built-up air escape and quickly reseal. This option is not ideal as it can allow oxygen back in. I recommend using glass fermentation weight (affiliate link). They are versatile and can help extract water from a dry salted ferment.
I also recommend using a glass jar (a wide-mouth mason jar is perfect because many of the lids mentioned above are designed specifically for it). This recipe calls for a ¾ quart jar but you can also use a quart mason jar (you may need a little more brine).
You can also use ceramic crocks (affiliate link) or another fermenting vessel of your choice. I stay clear of metal and plastic containers (though there are many who use plastic containers for fermenting).
Fermenting fruits and vegetables is generally very safe and foolproof. But to make sure that you are not introducing any bad bacteria or mold in the project, keep your equipment and tools as clean as possible.
You don’t need to sterilize them (as you would if you are canning), but washing everything in soapy warm water and air drying them is the best way to reduce the risk of cross-contamination.
How to Make Lacto-Fermented Radishes

Step 1. Prepare the Brine. In a large measuring cup or jug, combine the fresh water with salt. Mix well to dissolve the salt.

Step 2. Prepare the Spice bundle. In a small cheesecloth square, bundle the loose spices. Tie the bundle with twine or simply make a knot.

Step 3. Prepare the raw radishes. Slice radishes into thin circles using a knife or mandoline.

Step 4. Pack the jars. To each jar, add the garlic cloves, spice bundle, and chili peppers. Pack in the radishes.

Step 5. Pour brine. Carefully pour the brine solution over the radishes

Step 6. Add weight. Apply the fermentation weight (if using), making sure that everything is submerged in the brine.

Step 7. Add fermentation lid. Apply the fermentation lid to the top of the jar.

Step 8. Ferment. Ferment the radishes for at least 5 days away from direct sunlight. On day 5, taste the radishes. If you want them to be tangier and sourer, replace the weight and lid and continue to ferment for a few more days. If you’re happy with the taste, remove the weight, and fermentation lid. Add the optional vinegar, apply a regular lid and place the ferment in the fridge.
Fermentation Time, Storage and Safety
While the radishes are fermenting keep them on the counter away from direct sunlight. The ideal fermenting temperature is room temperature, about 60°F to 75°F (15°C to 24°C).
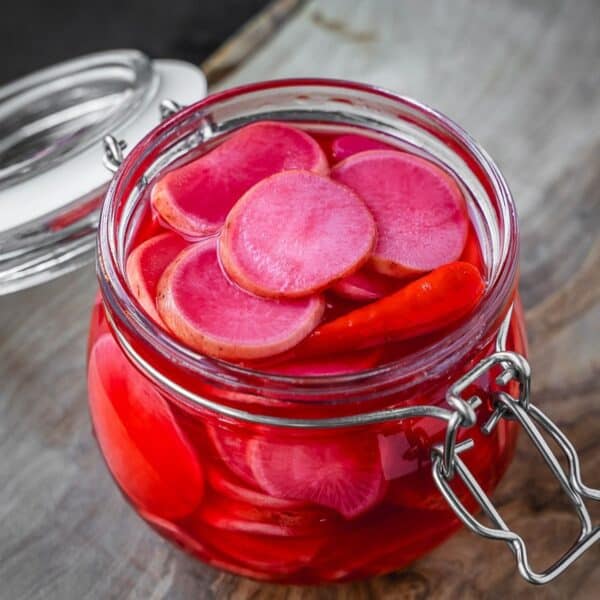
The fermentation time will depend entirely on your preference. I recommend a minimum of 5 days. By the 5th day, you’ll notice that the radishes have turned from white to pink all the way through.
This is your indication that the fermented radishes are ready. Give them a taste. If you like them the way they are, you can proceed to the next step (refrigeration). If you prefer them more sour and tangy, you can do another 3-7 days of fermentation on the counter.

Expert Tips
- Change it up. Feel free to add some other vegetables to your mix like sliced onions and carrots. You can also use other spices like whole coriander, bay leaf, star anise, or mustard seeds.
- Keep it clean. Wash your jars and utensils before using them to prevent unwanted bacterial growth using hot soapy water. Optionally, you can sterilize them by boiling them in hot water for 5 minutes. The sterilization isn’t necessary, but does add an extra layer of protection.
- Safety first. Make sure to refrigerate your final product in the fridge.
Recipe FAQs
A cloudy brine is common and usually not a cause for concern. It could be due to microbial or yeast activity, or simply starches and proteins from the breaking down of the radishes and other ingredients in the ferment. Always trust your senses; if something smells or looks off, it’s best to err on the side of caution and discard it. When in doubt, throw it out.
This is why I recommend using distilled vinegar to balance the flavor of your ferment when the fermentation is complete. This may affect the probiotic nature of the ferment, but I think it will improve flavor and it’s an easier way for new fermenters to ease into the world of fermentation.
Pickling refers to submerging fruits and vegetables in a vinegar solution. It is a different way to preserve produce.
The green tops are edible and can be turned into a pesto, added to a salad or sauteed with other greens.
Other Fermentation Recipes

Fermentation
Fermentation
Fermentation
Fermentation
If you make these Fermented Radishes (Lacto-fermented radish slices) or any other fermentation recipe on Urban Farm and Kitchen, please take a moment to rate the recipe and leave a comment below. It’s such a help to others who want to try the recipe.
For more Urban Farm and Kitchen, follow along on Instagram, Facebook, and Pinterest, visit the Urban Farm Shop, or subscribe for new posts via email.
Fermented Radishes (Lacto-Fermented Radish Slices)
Equipment
- ¾ Quart Jar – 24-ounce (~750ml) Mason Jars
- Fermentation weights
- Fermentation airlocks (Lids)
- Regular canning jar lids
- Small piece of cheesecloth
Ingredients
- 2 cup Fresh un-chlorinated water – Filtered or spring water – 475ml
- 1 tablespoon Kosher, pickling or sea salt – 17 grams
- 1 tablespoon Black peppercorns
- 2 Bunches of fresh radishes
- 2-4 Garlic cloves – peeled
- 2 Small chili peppers – Optional
After Fermentation is Complete
- 1-2 tablespoon White vinegar – Optional. Helps balance out the flavor of the final product.
Instructions
- Prepare the Brine. In a large measuring cup or jug, combine the fresh water with salt. Mix well to dissolve the salt.
- Prepare the Spice bundle. In a small cheesecloth square, bundle the peppercorns. Tie the bundle with twine or simply make a knot.
- Prepare the radishes. Cut your radishes into slices using a knife or mandoline.
- Pack the jars. To each jar, add the garlic cloves, spice bundle, and chili peppers. Pack in the radishes.
- Pour brine. Carefully pour the brine solution over the radishes. Tap the jar to release any air bubbles.
- Add weight. Apply the fermentation weight (if using), making sure that everything is submerged in the brine.
- Add fermentation lid. Apply the fermentation lid to the top of the jar.
- Ferment. Ferment the radishes for at least 5 days away from direct sunlight. On day 5, taste the radishes. If you want them to be tangier and sourer, replace the weight and lid and continue to ferment for a few more days. If you’re happy with the taste, remove the glass weight, and fermentation lid. Add the optional vinegar, apply a regular jar lid, and place the radishes in the fridge.
Notes
Nutrition
Nutrition information is automatically calculated, so should only be used as an approximation.
 Like this recipe? Rate & comment below!


Why do we need to use an airlock if the veggies are fully submerged in the brine via the weight? I thought it could be one or the other for safe fermenting
The weight keeps the contents submerged and the airlock lets gasses escape without letting air in. Both are useful. But that being said you can just use a regular lid and burp the jar daily (open slightly to let any trapped gasses escape). If you forget to burp, built up gasses may cause the container to explode or break. Again, the airlock and weight is the best way to avoid problems.