One of my favorite ways to preserve food, especially organic food grown in my garden, is lacto-fermentation (also known as Lactic Acid Fermentation). It transforms gorgeous produce into sauces, condiments and sides that can be enjoyed for months.

Table of Contents
- What is Lacto-Fermentation?
- Lacto-Fermentation Recipes
- Lacto-Fermentation vs Pickling
- Use Fresh Ingredients
- The Importance of Salt and How Much to Add
- Why You Should Prevent Oxygen from Entering Your Ferment
- Why You Should Let Carbon Dioxide Escape
- Improving Flavor with Vinegar
- Tools, Containers and Specialized Equipment
- Ideal Fermentation Temperature
- Fermentation Time
- Is My Ferment Ready?
- My Ferment is Ready, Now What?
- Will fermentation continue in the fridge?
- Common Concerns
- FAQs
Fermentation is used in the production of many different food items including sourdough bread, yogurt, kefir, cheese and even meats like cured ham and salami. However, this post will focus on vegetable and fruit fermentation.
What is Lacto-Fermentation?
Fermentation, or more precisely lacto-fermentation, involves submerging vegetables and fruits in a brine solution (salt and water) or salting them enough to release their own water and create their own brine.
The world is full of bad bacteria (e.g., Clostridium botulinum) and good bacteria (e.g., Lactobacillus). When done correctly, fermentation kills or suppresses the bad bacteria while giving the good bacteria a chance to thrive. This process transforms the vegetables and/or fruits into healthy probiotic-rich foods.
So how does this transformation take place? There are 2 stages to this process. In stage one, vegetables and/or fruits are salted or submerged in a brine solution that is salty enough to suppress or kill harmful bacteria. During this stage, good bacteria survive.
In stage two, Lactobacillus organisms begin converting lactose and other sugars present in the food into lactic acid. This creates an acidic environment. If you’ve ever tasted kimchee or sauerkraut, you’ll notice they have an acidity to them that is different from a traditional pickle.
Lacto-fermented foods taste tangy as opposed to pickled. Furthermore, they may even tingle on your tongue. This fizziness is attributed to the carbon dioxide that is generated in the lacto-fermentation process. I cover the basics of Lacto-Fermentation in my garden cookbook, Seed to Table.

Lacto-Fermentation Recipes
Looking to jump right in, here are some recipes you can try now:
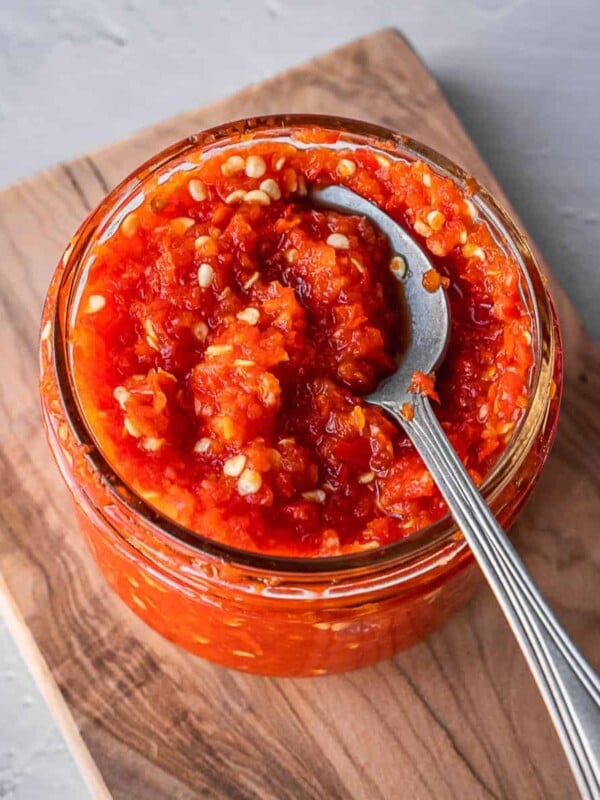
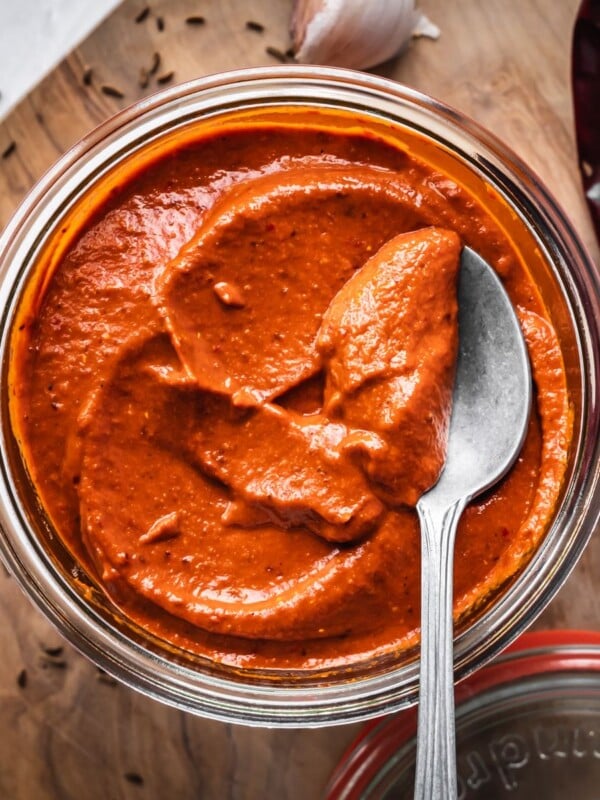
- Shattah (fermented Middle Eastern Chile Paste)
- Fermented Hot Sauce
- Fermented Cabbage
- Fermented Cucumbers (Dill Pickle)
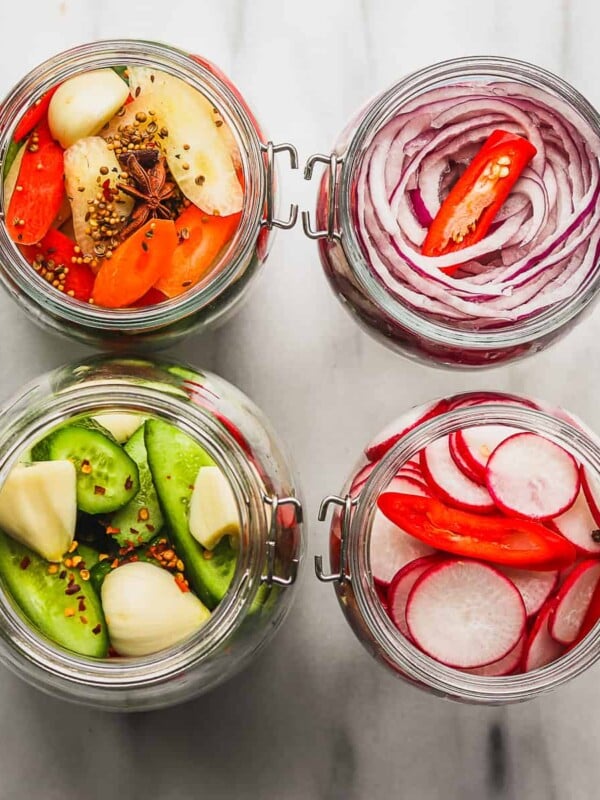
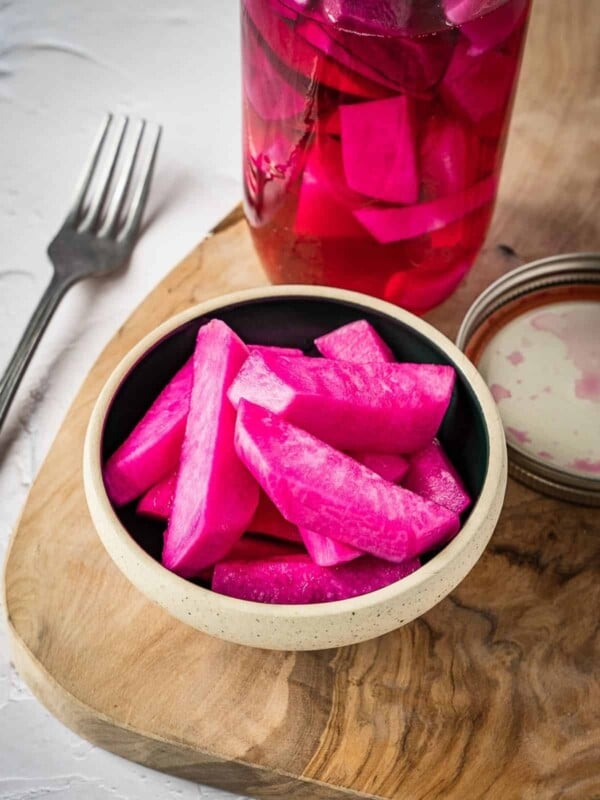
- Lacto-Fermented Radishes
- Lacto-Fermented carrots
- Red Cabbage Sauerkraut
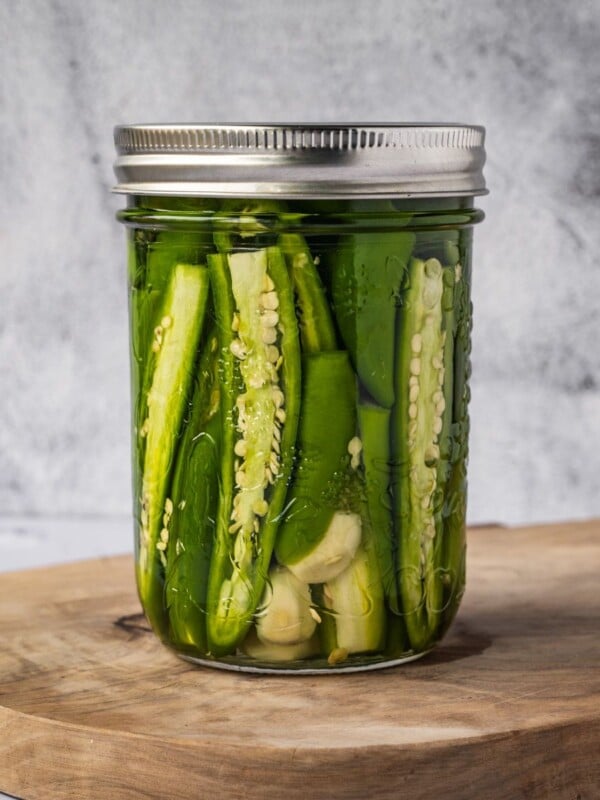
- Fermented Jalapenos
- Fermented Lemons
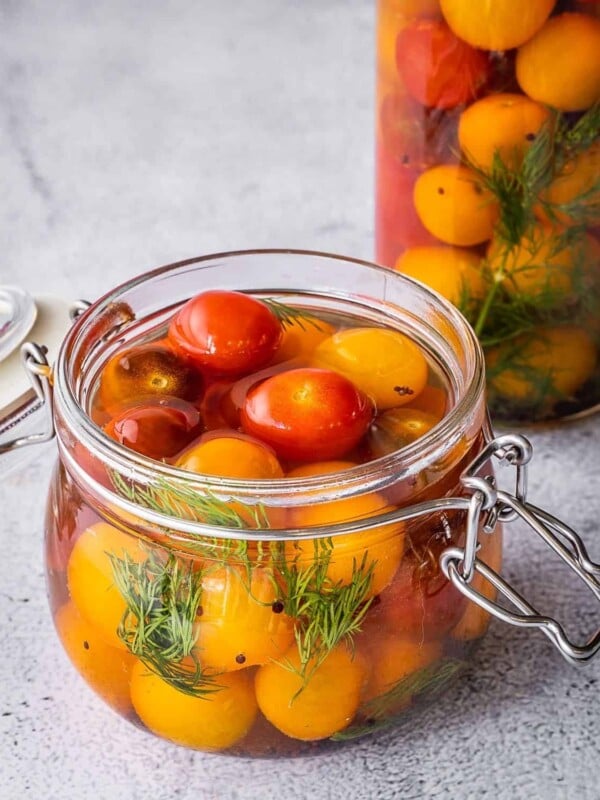
- Fermented Tomatoes
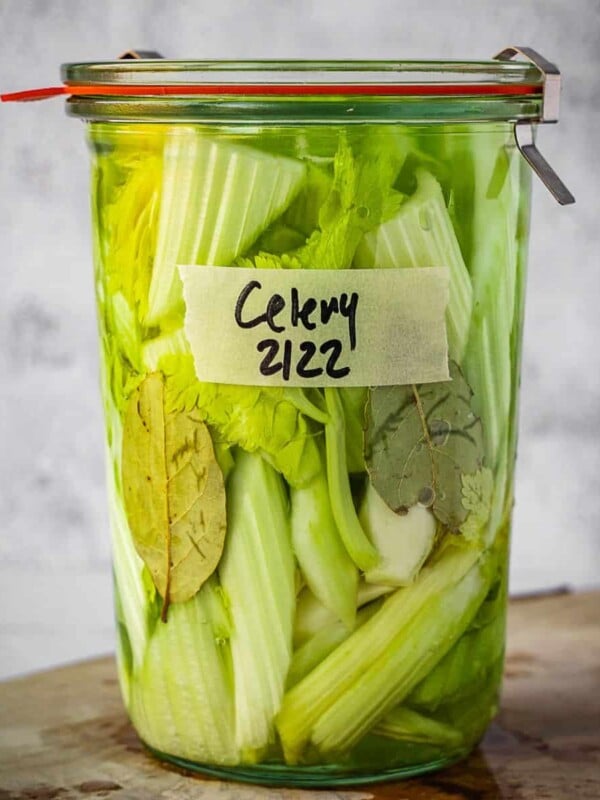
- Fermented Celery
- Sambal Oelek (Indonesian chili paste)
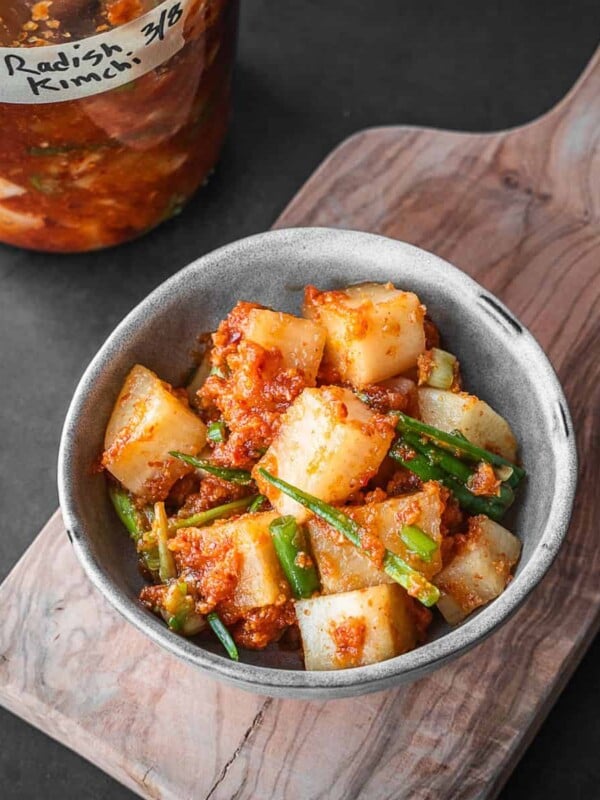
- Korean Radish Kimchi
- Fermented Beets
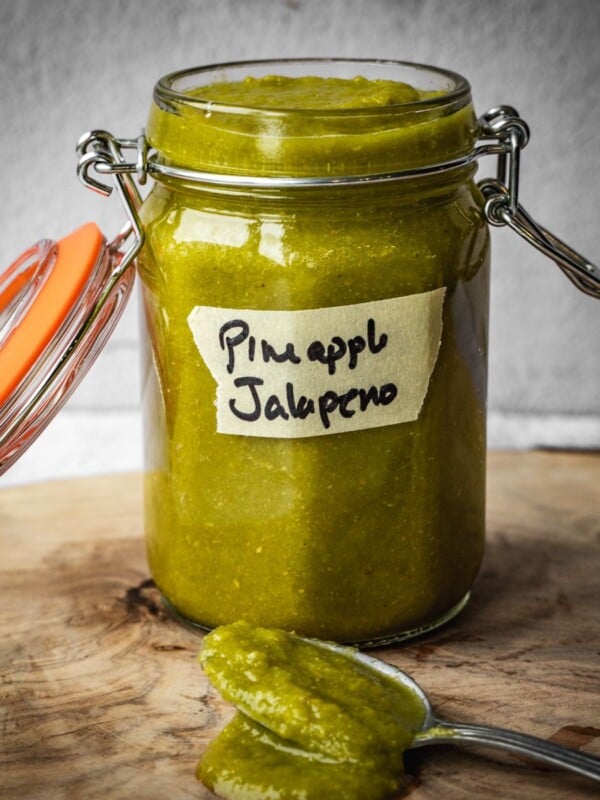
- Fermented Pineapple Jalapeno Hot Sauce
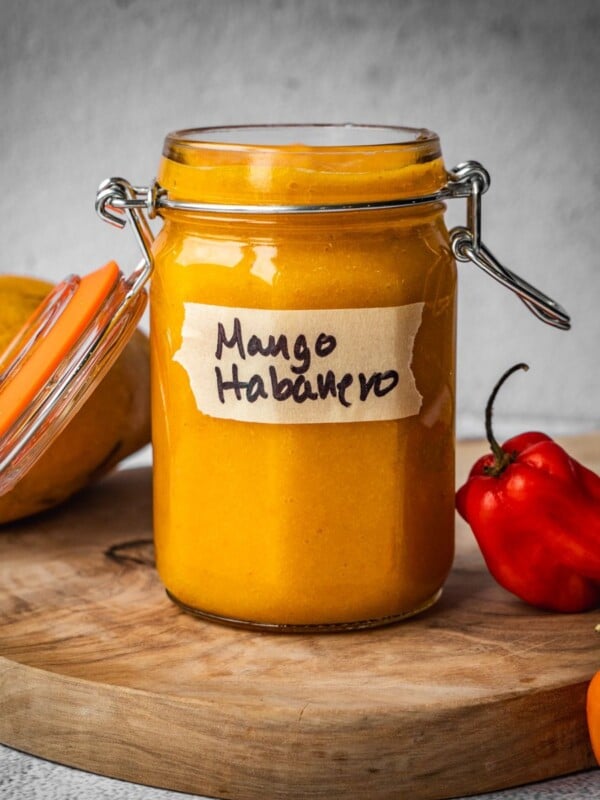
- Fermented Mango Habanero Hot Sauce
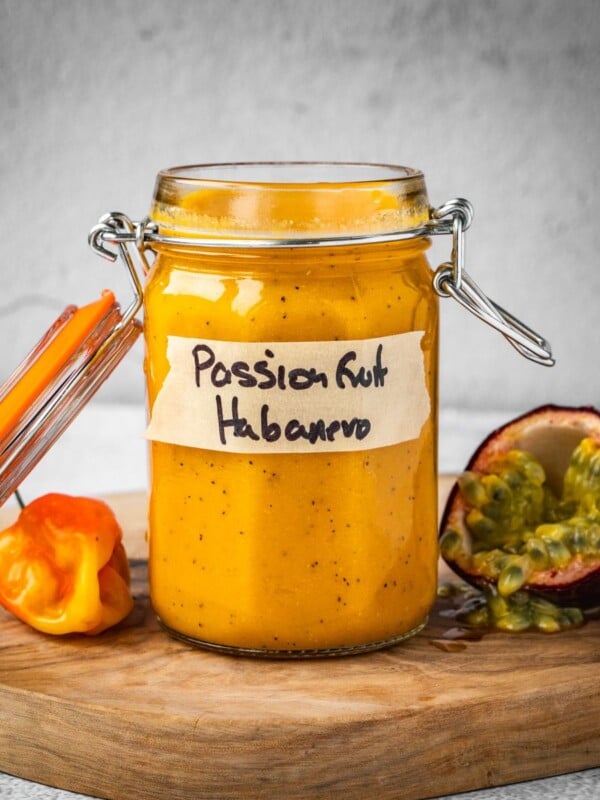
- Fermented Passion Fruit Habanero Hot Sauce
Fermentation
Fermentation
Fermentation
Fermentation
Fermentation
Fermentation
Fermentation
Fermentation
Lacto-Fermentation vs Pickling
Pickling refers to the process of preserving fruits and vegetables in a vinegar solution. Examples include pickled ginger, pickled green tomatoes, pickled cherry tomatoes, pickled turnips, and green beans.
The acidity prevents the growth of harmful bacteria, fungi, and other microorganisms. The process does not rely on natural fermentation. Pickled foods will often have a sharp sour flavor (whereas fermented foods will often be described as complex and tangy).
Pickling is a relatively quick process. Foods can be pickled within a few hours whereas lacto fermentation can take several days. Pickling can be just as rewarding as fermenting and I encourage you to check out some of my favorite pickling recipes:
Preservation
Preservation
Appetizers
Levantine Recipes
Use Fresh Ingredients
Using fresh (or homegrown garden) produce is crucial when fermenting for several reasons:
- Nutrient Content: Fresh vegetables are rich in nutrients, including vitamins and minerals. These nutrients are essential for the growth of beneficial bacteria during the fermentation process. Fermentation enhances the bioavailability of these nutrients, making them easier for your body to absorb.
- Texture: Fresh vegetables have a crisp texture, which is often desirable in fermented foods. Overripe or wilted vegetables lack the firmness needed for a good texture in the final product.
- Enzymes: Fresh vegetables contain natural enzymes that play a role in the fermentation process. Enzymes help break down complex molecules into simpler ones, aiding in the production of desirable compounds and flavors during fermentation.
- Water Content: Fresh vegetables have higher water content, which is important for creating the brine necessary for fermentation. The natural juices from fresh vegetables contribute to the brine, providing the necessary environment for beneficial bacteria to thrive.
- Microbial Diversity: Fresh vegetables carry a diverse population of naturally occurring beneficial bacteria. These microbes contribute to the unique flavors of fermented foods. Using fresh vegetables ensures that you introduce a variety of beneficial strains into your ferment.
- Safety: Fresh vegetables are less likely to be contaminated with harmful bacteria. Using wilted or spoiled vegetables increases the risk of introducing harmful microorganisms into the ferment, leading to spoilage or foodborne illnesses.
- Aroma and Flavor: Fresh vegetables have a vibrant aroma and flavor, which can significantly enhance the taste of the final fermented product. Overripe or spoiled vegetables can impart off-flavors to the ferment.

The Importance of Salt and How Much to Add
Salt plays a crucial role in the process of fermentation for several reasons:
- Osmotic Regulation: Salt helps to control the osmotic pressure in the fermenting environment. When salt is added to vegetables or fruits, it draws out moisture through osmosis. This process helps to create a brine (salty liquid) that submerges the food being fermented. The salt in the brine prevents harmful bacteria and molds from growing, creating a favorable environment for beneficial bacteria like Lactobacillus to thrive.
- Preservation: Salt acts as a natural preservative. It inhibits the growth of spoilage-causing bacteria and pathogens, allowing the beneficial lactic acid bacteria to dominate the fermentation process. This preservation effect helps extend the shelf life of the fermented food.
- Texture and Firmness: Salt affects the texture of the fermented product. It helps maintain the crispness of vegetables by slowing down the enzymatic processes that lead to softening. This is especially important in vegetable ferments like sauerkraut and pickles, where a desirable texture is crucial.
- Flavor Enhancement: Salt enhances the natural flavors of the ingredients being fermented. It can suppress bitterness and enhance sweetness, making the final product more palatable.
- Microbial Selection: Salt-tolerant bacteria, such as Lactobacillus species, are more resistant to the presence of salt compared to other harmful microorganisms. By adding salt, you encourage the growth of these beneficial bacteria, which are essential for the fermentation process.
- Safety: Properly salting the fermentation environment helps to create a hostile environment for harmful bacteria like Clostridium botulinum, which can cause botulism. Ensuring the right salt concentration is crucial for food safety during fermentation.
Salt Ratio
As a general rule, the recommended amount of salt should be in the 2%– 4% range by weight. It’s important to note that the right amount of salt is critical for successful fermentation. Too little salt can allow harmful bacteria to proliferate, while too much salt can inhibit the growth of beneficial bacteria.
I recommend using kosher salt, pickling salt, or sea salt. These are all non-iodized salt varieties. Avoid using table salt which has iodine added to it. It may (or may not) affect your ferment. So it’s best to use the purest salt you can get.

Dry Salting
In vegetable fermentation, dry salting involves sprinkling salt directly onto the vegetables, which draws out moisture from the vegetables through osmosis. The salt helps to soften the vegetables and extract natural juices, creating a brine without the need for added water. The extracted brine then covers the vegetables, submerging them during the fermentation process.

Dry salting is typically used when the vegetables and fruits you’re planning to ferment have high water content. Examples include cabbage and Asian greens.
When it comes to dry salting, I prefer to use a 2.25 to 2.5% ratio. Here’s how you can calculate the right amount of salt needed for your ferment:
- Weigh Your Vegetables/Fruits: Let’s say you have 600 grams of vegetables you want to ferment.
- Calculate the Salt Percentage: For a moderate salt concentration, you can use 2.5% salt. To find out how much salt you need, multiply the weight of your vegetables by 0.025 (which represents 2.5%).
So, in this case, you would need 15 grams of salt to achieve a 2.5% salt concentration. I recommend using a kitchen scale to achieve this level of precision.
Submersion Salting (Salt Brine)
Submersion salting, or brining, is used when you are fermenting fruits and vegetables that do not have too much water content or if you’re fermenting them whole. This technique can be applied to hot peppers, garlic, carrots, and giardiniera mix.
Filtered or spring water is preferred over tap water because the chlorine in tap water could affect fermentation. When preparing the brine, use a kitchen scale to achieve the most precise result.

When it comes to submersion salting (brining), I recommend a 3.5% salt solution. This translates to 3.5 grams of salt per 100 grams of water. Alternatively, a good place to start is 2 tablespoons of salt to 4 cups of water (which works out to 34g of salt to 946g of water – a 3.5% ratio). I still think you should invest in a kitchen scale!
Why You Should Prevent Oxygen from Entering Your Ferment
Oxygen exclusion is crucial in the fermentation process for several reasons:
- Anaerobic Environment: Fermentation is an anaerobic process, meaning it occurs in the absence of oxygen. Certain microorganisms, like lactic acid bacteria, yeast, and other beneficial strains, thrive in environments without oxygen. These microorganisms break down sugars and other organic compounds to produce acids, alcohols, and gases, transforming the raw ingredients into fermented products like sauerkraut, kimchi, yogurt, and pickles.
- Prevention of Spoilage: Oxygen promotes the growth of undesirable microorganisms, including molds, yeasts, and bacteria, which can spoil the food being fermented. By excluding oxygen, you create conditions that favor the growth of specific beneficial microbes, ensuring the fermentation process leads to safe and tasty products.
- Inhibition of Oxidation: Fermentation can involve the enzymatic breakdown of various compounds within the food. Oxygen can cause oxidation, which alters the flavor, color, and nutritional content of the food. By keeping oxygen out, you preserve the natural qualities of the ingredients and maintain the desired characteristics of the final product.
Why You Should Let Carbon Dioxide Escape
Allowing carbon dioxide (CO2) to escape (degassing) during fermentation is essential for several reasons:
- Preventing Pressure Buildup: Fermentation produces gases, primarily carbon dioxide. If these gases are not allowed to escape safely, they can build up pressure inside the fermentation container. This pressure can potentially lead to the container bursting or exploding, causing a mess and, more importantly, posing a safety risk.
- Avoiding Contamination: Allowing gases, especially carbon dioxide, to escape helps create a one-way barrier against external contaminants. As CO2 exits, it helps to push away air from the surface of the fermenting food. This is important because exposure to air can introduce harmful bacteria, molds, and yeasts, which can spoil the ferment or pose health risks.
- Maintaining Anaerobic Conditions: Fermentation is an anaerobic process, meaning it occurs in the absence of oxygen. Allowing CO2 to escape ensures that the fermentation environment remains anaerobic.
- Preventing Off-Flavors: If CO2 is not allowed to escape, it can dissolve back into the liquid and form carbonic acid, which can create off-flavors in the fermented food. Allowing CO2 to escape helps prevent this acidification, contributing to the overall quality and taste of the final product.

Improving Flavor with Vinegar
Many fermentation recipes call for vinegar to be added at the end of the ferment. This is done primarily to improve flavor and extend shelf life. Some of our favorite fermented hot sauces (Frank’s, Tabasco and others) have vinegar added to them. I like to add a dash of vinegar to all my hot pepper ferments, whether I’m making hot sauce or chili paste.
Sometimes vinegar is added at the start of the fermentation process to help encourage acid-loving lactic bacteria. This can help speed up certain fermentation projects (and reduce the chance of contamination), especially those that you plan to store for a long time.
Cultured vinegar (like raw unpasteurized apple cider vinegar with mother) can be used at the start of a ferment, especially in fermenting projects involving fruit. This helps ensure a quick and efficient ferment and reduces the chance of mold and yeast growths which are common with fruit ferments. Make sure to follow the recipe and use tested and tried recipes from reliable sources.
Tools, Containers and Specialized Equipment
In order to ensure that oxygen doesn’t enter and that carbon dioxide has the ability to escape, there are a few things you can do:
- Use a fermentation airlock: This is essentially a lid with a valve that allows gasses to escape safely. It fits directly on to your jar. There are several options like the Klemon and Masontops (affiliate links).
- You can use a standard lid and unscrew it twice a day to let any built-up air escape and quickly reseal. This option is not ideal as it can allow oxygen back in.
- Vacuum Packing with bags. This is used in the restaurant industry quite heavily but the downside is that the CO2 is not released which could burst the bag or create off flavors in the ferment.
I only use specialized fermentation lids when making any ferment. They are the safest option. In order to keep the fruits and vegetables submerged, you will also need to use one of the following:
- Glass fermentation weight (affiliate link). They are versatile and can help extract water from a dry salted ferment)
- A ziplock bag filled with water, beans or marbles can also help keep the food submerged
- A small plate or bowl (like a sushi dipping bowl)
The most important thing to remember is that you want your food to be submerged.

I also recommend using a glass jar (a mason jar is perfect because many of the lids mentioned above are designed specifically for it). You can also use ceramic crocks (affiliate link). I personally avoid metal and plastic containers (though there are many who use plastic containers).
Ideal Fermentation Temperature
The ideal lacto-fermentation temperature typically falls within a range of 60°F to 75°F (15°C to 24°C). In other words, room temperature.
Lactobacillus bacteria thrive in this temperature range. At higher temperatures, the fermentation process can occur too rapidly, potentially leading to softer textures and less complex flavors. Conversely, at lower temperatures, fermentation may proceed too slowly or not at all, leading to a lack of proper preservation and the growth of undesirable bacteria or molds.
It’s important to note that the specific ideal temperature can vary slightly depending on the type of ferment and personal preferences. Some ferments might do well at the lower end of the range, around 60°F (15°C), for a slower, more controlled fermentation, while others might benefit from slightly higher temperatures within the range, around 70°F to 75°F (21°C to 24°C), for a more active fermentation process.
Monitoring and controlling the fermentation temperature within this range can help ensure the growth of beneficial bacteria, the production of desired flavors, and the safety of the fermented product. Factors such as the type of food being fermented, the specific strains of bacteria involved, and individual recipes can influence the exact ideal temperature within this range.
Fermentation Time
The time it takes to lacto-ferment food can vary widely based on several factors, including the type of food being fermented, the ambient temperature, the desired level of fermentation, and personal preference for taste and texture. Generally, the process of lacto-fermentation can take anywhere from a few days to several weeks.
4 days is generally a good place to start. If you’re adventurous a enjoy the funkiness and sourness of fermented food, you can continue to ferment for longer.

Is My Ferment Ready?
There are a few telltale signs to look out for when you’re trying to determine if your lacto-fermented vegetables are ready:
- Smell: Fermentation often produces distinct, sometimes tangy or sour smells. If the fermenting food has a pleasant, slightly tangy aroma, it’s likely ready. If it smells off, it might not be ready yet or could be spoiled.
- Taste: Take a small sample and taste it. If it has the desired flavor, texture, and level of sourness, it’s ready. For example, in vegetable ferments like sauerkraut, the cabbage should taste tangy and slightly crunchy.
- Texture: Some ferments, like pickles, should maintain a certain crunch. Over-fermented pickles might become mushy. Check the texture to ensure it’s still appealing.
- Bubbling: Many ferments produce bubbles as a result of the fermentation process. Bubbles indicate that the ferment is active. However, the absence of bubbles doesn’t necessarily mean the ferment isn’t ready, as some ferments can proceed without visible bubbling.
- Color: The color of the ferment might change during the process. For instance, vegetables might change from vibrant to a slightly subdued hue. However, drastic color changes could be a sign of spoilage, so use your judgment.
Note: For certain ferments like kombucha or kefir, pH testing strips can be used to measure the acidity level. When the pH reaches the desired level (usually below 4.6), the ferment is generally considered safe and ready. You can apply the same when testing a vegetable ferment in brine.
My Ferment is Ready, Now What?
You have a few options. First off you can remove the fermentation lid and weights. You can use a standard lid and refrigerate your ferment as is.
Alternatively, you can process it (let’s say you’re making hot sauce). Process it into the desired final product and bottle/jar it up and refrigerate.
You can also divide your ferment into smaller jars. This is especially useful if your ferment was done in a large crock.

Will fermentation continue in the fridge?
Lacto-fermentation does continue in the fridge, but at a much slower rate. When you transfer a lacto-fermented product to the refrigerator, the cold temperature slows down the fermentation process significantly. The cold environment doesn’t stop the fermentation entirely, but it greatly reduces the activity of the lactic acid bacteria and other microorganisms involved in the fermentation process.
Refrigeration helps preserve the fermented food by inhibiting the growth of harmful bacteria and molds. It also maintains the quality and flavor of the product for a longer period.
It’s worth noting that some fermented products, especially those with a higher salt content, might not show significant changes during refrigeration, while others, like sauerkraut or kimchi, might continue to mature, albeit very slowly, in the fridge.
Common Concerns
Fermentation is still misunderstood and feared by many people. Here are the two most common visual concerns people have with their ferments.
Kahm Yeast
Kahm yeast is a type of wild yeast that can develop on the surface of lacto-fermenting foods. It appears as a thin, white to cream-colored layer, resembling a wrinkled skin, on the surface of the fermenting liquid or on top of vegetables in brine. Kahm yeast is a common occurrence in home fermentation, particularly when the fermentation environment is not well-controlled.
While Kahm yeast is not harmful, it’s generally considered undesirable in fermentations for several reasons:
- Flavor Alteration: Kahm yeast can alter the flavor of the ferment, sometimes resulting in off-putting or unpleasant tastes.
- Texture Changes: Fermented foods with Kahm yeast might develop an undesirable texture, often described as slimy or rubbery.
- Nutrient Competition: Kahm yeast competes with desirable lactic acid bacteria for nutrients. This can slow down the fermentation process and affect the growth of beneficial bacteria that contribute to the desired flavors and preservation of the food.
To prevent Kahm yeast formation:
- Use Proper Equipment: Ensure your fermentation equipment (jars, lids, weights) is clean and sanitized to minimize the introduction of unwanted microorganisms.
- Submerge Ingredients: Keep solid ingredients submerged in the brine or liquid to minimize exposure to air, which can help reduce the chances of Kahm yeast forming on the surface.
- Maintain Consistent Temperatures: Ferment at the appropriate temperature recommended for the specific food you’re fermenting. Proper temperature control can encourage the growth of beneficial lactic acid bacteria over unwanted organisms like Kahm yeast.
- Use an Airlock: If you’re fermenting in an open container, consider using an airlock. An airlock allows gases to escape but prevents outside air (and potential contaminants) from getting in.
If you do encounter Kahm yeast during fermentation, it’s generally safe to scrape it off the surface and continue fermenting. However, be sure to inspect the ferment thoroughly to ensure that no other signs of spoilage, such as mold or foul odors, are present. If there are additional signs of spoilage, it’s best to discard the batch and start anew.
Cloudy Brine
A cloudy brine in fermentation is a common occurrence and usually not a cause for concern. There are several reasons why the brine in your fermentation might appear cloudy:
- Microbial Activity: During fermentation, beneficial bacteria (such as lactic acid bacteria) consume sugars and other compounds in vegetables or fruits. As a result, they produce lactic acid and other by-products. These by-products can sometimes cause the brine to appear cloudy.
- Yeast Activity: Wild yeasts naturally present on the vegetables or in the environment can also contribute to cloudiness. Yeast cells are microscopic and can be suspended in the brine, causing it to look cloudy.
- Starches and Proteins: Vegetables often contain starches and proteins. During fermentation, these compounds can break down into smaller particles, which may scatter light and create a cloudy appearance in the brine.
- Minerals and Salts: Minerals and salts in the vegetables can dissolve in the brine, contributing to cloudiness. This is especially common if you’re using unrefined sea salt, which contains minerals that can affect the appearance of the brine.
- Lactic Acid Bacteria: The proliferation of lactic acid bacteria, which are desirable in most vegetable ferments, can cause cloudiness. These bacteria can form colonies and create a milky appearance in the brine.
While cloudiness is generally harmless, there are a few things to watch out for:
- Unusual Odors: If the cloudy brine is accompanied by a foul or unpleasant odor, it could be a sign of spoilage.
- Mold: If you see signs of mold on the surface of the brine or on the vegetables, discard the batch. Mold is a definite indication of spoilage.
- Slimy Texture: If the vegetables feel excessively slimy to the touch, the ferment may be spoiled, and it’s best to discard it.
If your cloudy brine doesn’t exhibit any of these warning signs, it’s likely the result of natural fermentation processes and should be safe to consume. Always trust your senses; if something looks or smells off, it’s best to err on the side of caution and discard the ferment. When in doubt, throw it out.
FAQs
If you follow all the guidelines for a proper and safe ferment, you shouldn’t encounter harmful mold. But if you do see growths on the surface of the ferment, stop and assess the color. Brown, yellow, red, pink, green, or gray/black growths can indicate harmful growths.
Disclaimer: You are responsible for the results of your efforts and the safety of your food. Readers should follow the safety guidelines and warnings provided. The author and publisher disclaim all liability for any adverse effects arising out of or relating to the use or application of the information or advice provided in this article or related articles. The risks of fermenting are inherent. You are responsible for the results of your efforts and the safety of your food. The author and publisher are not responsible for any adverse effects that may result from the use or misuse of the information contained in this article.




My mom and I made curtido recently and after a couple of days on the counter to ferment, one of the jars brine has changed color on the top (above the vegetable layer) to an almost black color. The ferment smells fine and while there are bubbles on the surface there is no sign of mold. We tossed the brine and scrapped away the upper layer of vegetables, but everything else seems fine. Advice? Thoughts?
It’s hard to say without seeing the jar. The color can be from the ingredients, but it can also be mold. With fermentation, if you’re in doubt, throw it out and start over. Make sure the salt ratio is correct though. That’s the key to a successful ferment.
Thank you for a very helpful and comprehensive article!
Do you recommend that the salt brine be placed in a DARK place or just out on the counter?
Thanks-
Lee
You don’t talk about fruit ferments and recipes ….
The entire post is about how to ferment safely and the various techniques. Right at the top of the post you will find several recipes listed.
I didn’t see any FRUIT fermentation either. Just Vegetables.
Cucumbers and peppers are both fruits.