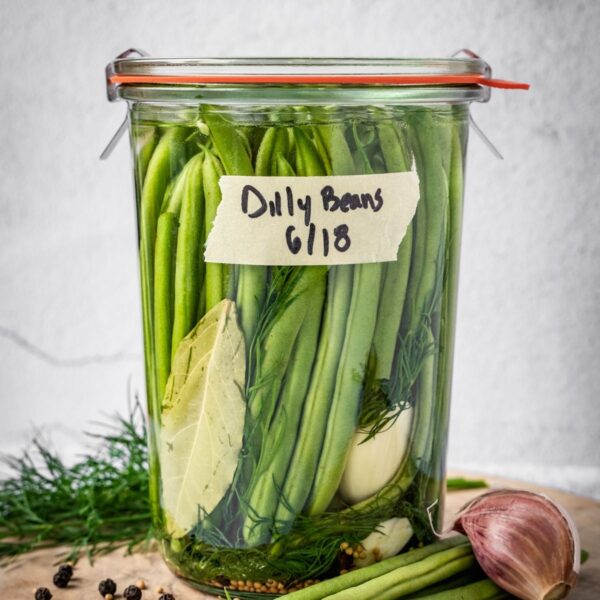
Pickle lovers, this classic Dilly Beans recipe comes together in under 20 minutes. The briny, salty and tangy pickled beans are a great addition to a charcuterie board, grazing table, or cocktails like a Bloody Mary or Caesar. This is a perfect summer recipe when fresh dill and string beans are abundant!
This recipe is based on my refrigerator pickles recipe. Refrigerator pickles are meant to be stored in the fridge, not the counter or pantry. This recipe is also featured in my 11 Essential Pickling Recipes!

Table of Contents
Ingredients
This is a pretty straightforward pickling recipe with easy-to-find ingredients. In fact, I make it mostly in the summer months when my garden dill is flowering and fresh green beans are growing on the vine! But you can make it year-round with store-bought produce.

- Green Beans: Use slender beans for this recipe. French filet beans are great, but regular green beans work just fine. Choose ones that are straight as you’ll be able to pack more into the jar. You can also use yellow wax beans or even purple beans.
- Dill: They are called dilly beans for a reason! I am using a good amount of fresh dill here (aka dill weed). You can also add dill seeds or even dill seed heads if you have them growing in your garden. I also use dill in my pickled cherry tomatoes and dill pickles recipes.
- Spices: A combination of bay leaf, black pepper and mustard seeds add that classic pickle flavor profile. You’ll find similar flavor profiles in my Giardiniera recipe. Check out my pickled sweet peppers recipe which also uses mustard seeds.
- Vinegar: I use plain white distilled vinegar to make my pickling solution. But you can use white wine vinegar or even champagne vinegar. Don’t use dark-colored vinegar for this recipe.
See the recipe card for full information on ingredients and quantities.
How to Prepare this Dilly Beans Recipe

Step 1. Make the brine. In a measuring cup, combine vinegar, water, salt and sugar. Stir or whisk to dissolve. You can also warm up the liquid in a microwave or on a stovetop to help dissolve the salt and sugar, but it’s not necessary.

Step 2. Pack the jar. To your clean mason jar, add dill, black peppercorns, mustard seeds, garlic and bay. Pack in the green beans.

Step 3. Pour the brine. Pour the pickling solution over the beans, making sure to cover them up all the way.

Step 4. Cover and pickle. Cover your mason jar and place it in the fridge. The beans will need at least 2 days to pickle, but you should wait 4 days to try them.
Expert Tips
- Make sure your equipment is clean. Wash the mason jar with warm soapy water. You don’t need to sterilize the jar when making a refrigerator pickle like you do when water bath canning, but it wouldn’t hurt. To sterilize the jars, boil them in a large pot of water for 10 minutes and carefully remove them with tongs to drain on a clean towel.
- Use glass mason jars! Avoid pickling in plastic or metal containers. Glass is the safest.
- Change up the flavor profile. Feel free to add other spices in the jar, maybe some chile peppers if you like spicy pickles. If you’re a fan of spicy pickles, try my Escabaeche (Mexican pickled vegetables), and pickled banana peppers.
- Remember this is a refrigerator pickle. The final product must be stored in the refrigerator for it to be safe for consumption.
- Quick pickles? If you’re looking to speed up the pickling process, bring the brine up to boil on high heat then pour the hot brine over the beans and seal the jar. The hot pickling solution will soften the beans and they will be ready within a few hours. Let them come to room temperature before enjoying. The same process is outlined in my pickled jalapeno recipe.
- Grow your own! Ok, you know I am a big proponent of growing your food and growing beans (both pole beans and bush beans) is quite easy! And dill? They call it Dill Weed for a reason!
- Double the recipe if you have a bumper crop of green beans.
Recipe FAQs
This specific recipe is not tested for canning, so I would recommend you prepare it as is with the intention of keeping it in the fridge. There are other tested recipes out there if you want to use a water bath canner. Check out Ball, Kerr or Bernardin for tested recipes.
Beans take a few days to pickle (for the brine to penetrate the beans). You can start eating them after 2 days but I recommend waiting at least 4 days before enjoying.
Because of the acid content, the beans should last quite a while in the fridge. I recommend you keep them no longer than 4 weeks.
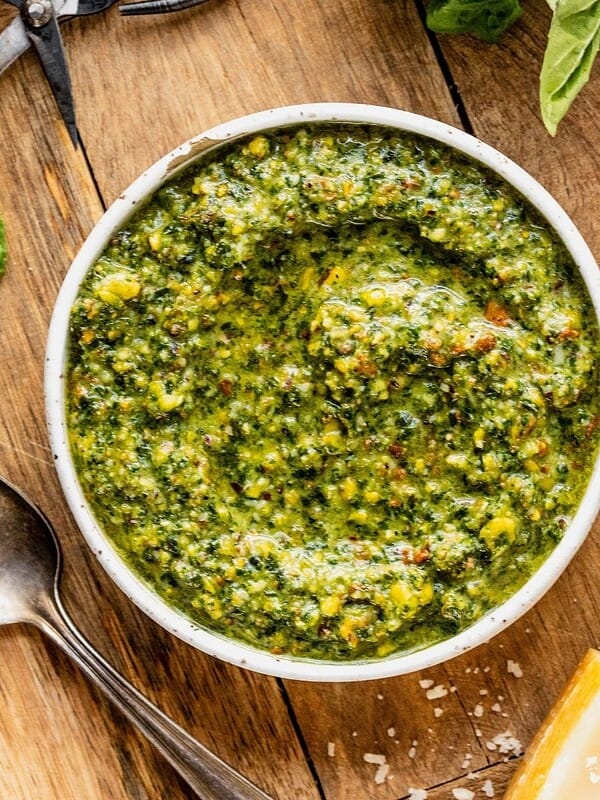
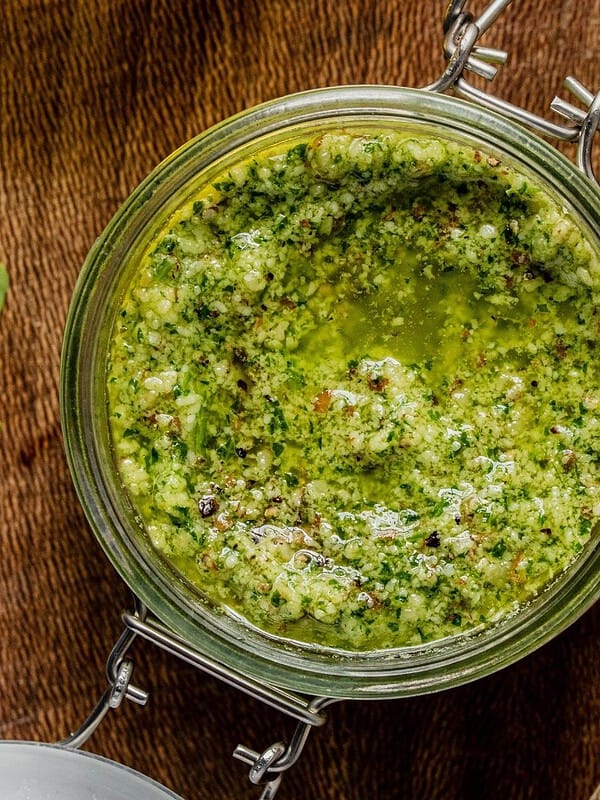
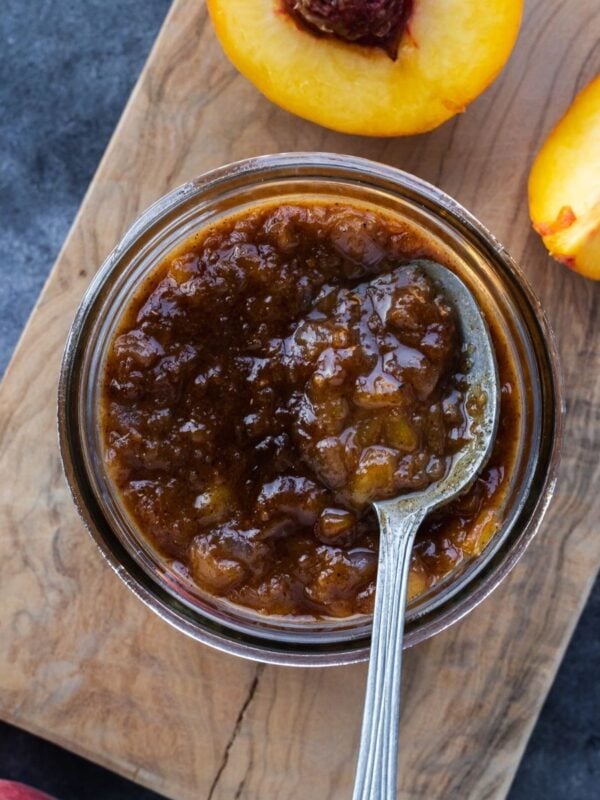
Other Pickling Recipes
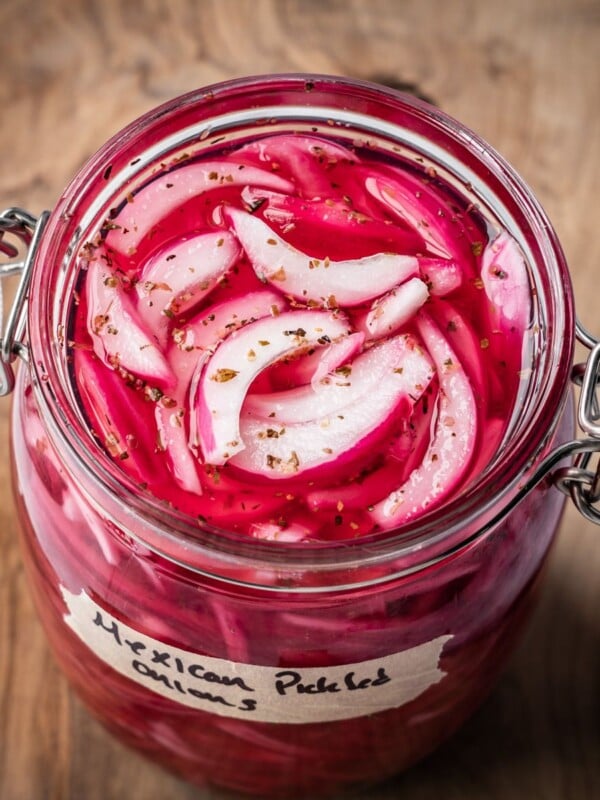
Preservation
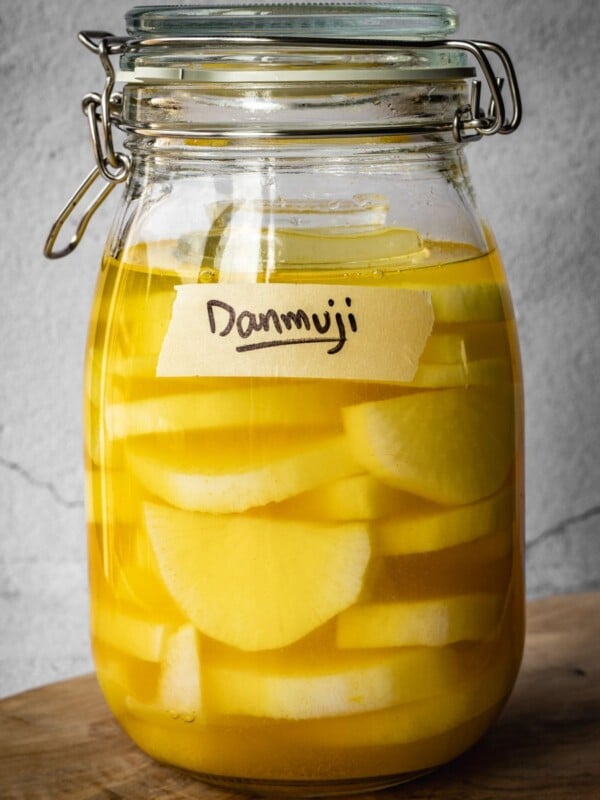
Preservation
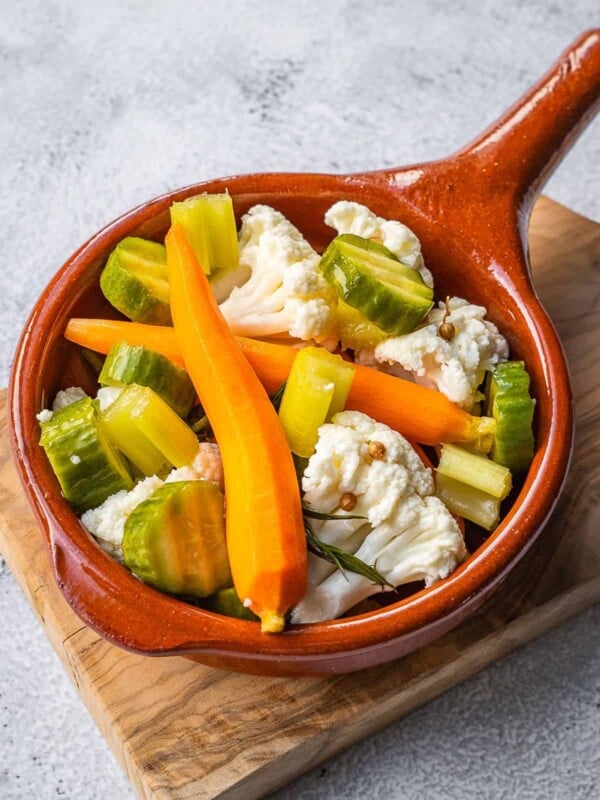
Preservation
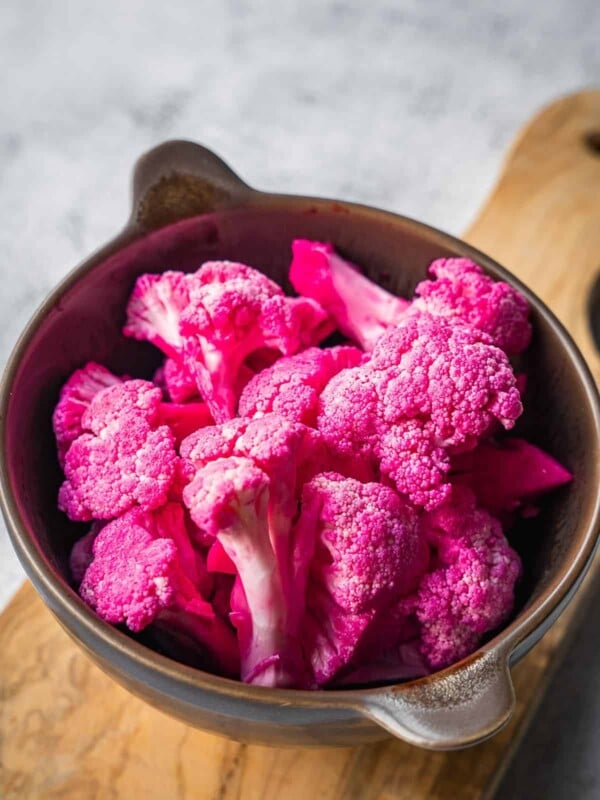
Levantine Recipes
If you make this homemade Dilly Beans recipe or any other garden preservation recipes on Urban Farm and Kitchen, please take a moment to rate the recipe and leave a comment below. It’s such a help to others who want to try the recipe.
For more Urban Farm and Kitchen, follow along on Instagram, Facebook, and Pinterest, visit the Urban Farm Shop, or subscribe for new posts via email.
Dilly Beans (Pickled Green Bean Recipe)
Equipment
- ¾ quart mason jar
Ingredients
Pickling Brine
- 1 cup White vinegar
- 1 cup Water
- 1 tablespoon Kosher salt, pickling salt, or sea salt
- 1 teaspoon Sugar – Optional
Other Ingredients
- ½ cup Fresh dill – A small bunch
- 1 teaspoon Black peppercorns
- 1 teaspoon Mustard seeds
- 1 Bay leaf
- 1-2 Garlic cloves
- 1 lbs Green beans – Stem-end trimmed
Instructions
- Make the brine. In a measuring cup, combine the vinegar, water, salt and sugar. Stir or whisk to dissolve. You can also warm up the liquid in a microwave or on a stovetop to help dissolve the salt and sugar, but it’s not necessary.
- Pack the jar. To your clean mason jar, add dill, black peppercorns, mustard seeds, bay leaf and garlic. Pack in the green beans.
- Pour the brine. Pour the pickling brine over the beans, making sure to cover them up all the way.
- Cover and pickle. Cover your mason jar and place it in the fridge. The beans will need at least 2 days to pickle, but you should wait 4 days to try them.
Notes
- Green Beans: Use slender beans for this recipe. French filet beans are great, but regular green beans work just fine. Choose ones that are straight as you’ll be able to pack more into the jar. You can also use yellow wax beans or even purple beans.
- Dill: They are called dilly beans for a reason! I am using a good amount of fresh dill here. You can also add dill seeds or even dill seed heads if you have them growing in your garden.
- Spices: A combination of bay leaf, black peppercorns and mustard seeds add that classic pickle flavor profile.
- Vinegar: I use plain white distilled vinegar to make my pickling solution. But you can use white wine vinegar, apple cider vinegar or even champagne vinegar. Don’t use dark colored vinegar for this recipe.
Nutrition
Nutrition information is automatically calculated, so should only be used as an approximation.
 Like this recipe? Rate & comment below!