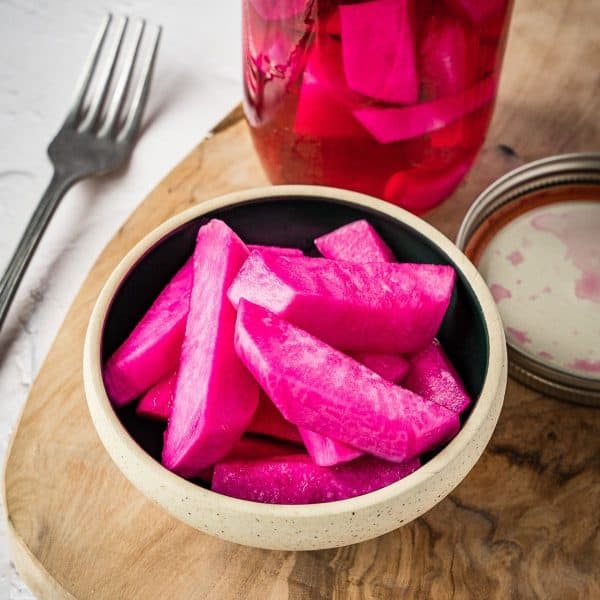
Lebanese pickles, or as I like to call them, shawarma pickles or pink pickles are a Middle Eastern staple that brings color and a sweet and sour touch to any dish. If you’ve ever had a shawarma or falafel wrap, chances are you have tried, and loved these pickled turnips!
This recipe is featured in my 11 Essential Pickle Recipes post!

Table of Contents
Though very closely associated with Lebanese cuisine, these pink pickled turnips are actually a staple of Levantine cuisine. You can find these pickles at any Middle Eastern store or even in the international aisle of your supermarket. I recommend you try making them yourself because they will taste better than anything that is mass-produced and packaged months ago!
Enjoy these pickles with Lebanese Chicken Shawarma alongside other Shawarma Sides. They pair well with falafel wraps, kababs, Turkey Kofta Wraps, Chicken Kafta, or Beef Kafta as well.
Go beyond Middle Eastern cuisine and serve them with a hearty rice bowl or anytime you are looking for a sweet and acidic touch.
This recipe is incredibly easy to make and requires no canning equipment. The pickles are stored in the refrigerator, which means that they will be safe to consume for several weeks. A great way to start your pickling journey.

Why You’ll Love This Lebanese Pickled Turnip Recipe
Are you a fan of Middle Eastern food? I’ll wager a guess and say yes since you’re reading this right now! Here are some of the reasons why I think you will enjoy this recipe:
- These pickles are addictive! They are incredibly delicious and can be added to falafel sandwiches and bowls, shawarma wraps and platters, and even enjoyed on a charcuterie board.
- A sense of accomplishment. Honestly, I love making homemade pickles, especially during the summer and fall when local produce is at its peak! If you have never pickled anything before, this is your sign to start now! Give my pickled cauliflower and Pickled Italian Vegetables a try too!
Ingredients
To make these pink turnips, you truly only need a few fresh ingredients. The rest are pantry staples everyone has.

Ingredient Notes and Substitutions
- Distilled White Vinegar: I recommend sticking with white vinegar, but if you don’t have any on hand, you can substitute with a light-colored vinegar like white wine vinegar or champagne vinegar. Avoid any darker-colored vinegars.
- Kosher Salt: Like all my other pickling recipes, I recommend using Kosher or pickling salt. Avoid using table salt as it has other ingredients like Iodine added to it.
- White sugar: Can you omit the sugar entirely? Sure, but these pickles are meant to be balanced. The sweetness of the sugar helps balance out the acidity of the pickling brine.
- Turnips: This wouldn’t be a pickled turnip recipe without the turnips; however, you can try using another dense and firm root vegetable like rutabaga or even Daikon radish. Kohlrabi is another option. When in season, the small Hakurei turnip (also known as Tokyo turnip) can be used. Because of their small size (like a radish), I would suggest you pickle them whole or halved.
- Beetroot: The reason why these pickles turnips are pink is because of the added beet slices. Without them, the pickles wouldn’t turn a gorgeous pink. I don’t recommend you skip this.
Fun additions and personal preferences: This is where you can get a little creative. You can add some bay leaves, fresh herbs, or dried spices like coriander seeds to the jar.
I also have a refrigerator quick pickles recipe that you can check out if you’re looking for something more basic.
How to Make Lebanese Pickled Turnips
A quick 4 step recipe that you’ll make on repeat!

Step 1. Prepare the pickling solution. In a large measuring cup, add the hot water, vinegar, salt and sugar. Using a whisk, stir well to dissolve.

Step 2. Pack the jars. To a clean glass jar, add the crushed garlic and black peppercorns. Pack the jars down with turnips and beet pieces.

Step 3. Add the brine. Carefully pour the brine into the prepared jar. Tap the jar a few times to release any air bubbles. Make sure the brine is covering the vegetables all the way. Cover with a tight-fitting lid.

Step 4. Pickle. When the jar is at room temperature, place it in the refrigerator and allow the vegetables to pickle for 4-5 days. The brine will turn a vibrant pink color. Enjoy.
Safety Notes and Storage
As always, make sure your equipment and jars are clean and sterilized if possible. This will help reduce the chance of any bacterial growth. This recipe was NOT tested for water bath canning. It is a refrigerator pickle, meaning that the pickling and storage stage happens in the refrigerator.
Refrigerator pickles could last in the fridge for several months, but I recommend you consume these pickles within 1-2 months. After 2 months, their texture and color will begin to deteriorate.
If you observe any unusual growths or odors, discard the pickles. A good rule of thumb is: when in doubt, throw it out.
To learn more about pickling (as well as fermenting, drying, confit and other preservation techniques), check out my book, Seed to Table.
Expert Tips
- Fresh is best. Always use the freshest ingredients possible. Turnips and beets can become soft in the refrigerator, so I recommend you make these pickles the day you buy or harvest your ingredients.
- Grow your own. Beetroots and turnips are incredibly easy to grow in a home garden. I would encourage you to think about adding them to the garden in the spring.
- Batonnet cut. If you are familiar with French knife cuts, the ideal size for Middle Eastern pickles is a batonnet cut (1/2 inch wide by 2 inches long – or 1cm wide by 5cm long).
- Pickle jars: I recommend using Ball or Bernardin canning jars, but you can also use Weck jars.

Recipe FAQs
These are pickled turnips commonly used to garnish shawarma and falafel wraps. They go by many names including pink pickles, pickled turnips, Lebanese pickled turnips, Levantine pickled turnips, shawarma pickle, turnip pickle, and even Arabic pickle.
Most if not all recipes call for a small amount of red beet root, which will stain the pickling solution pink. In time, the pink solution will also stain the turnips a beautiful pink color.
Other Pickling Recipes You Will Love
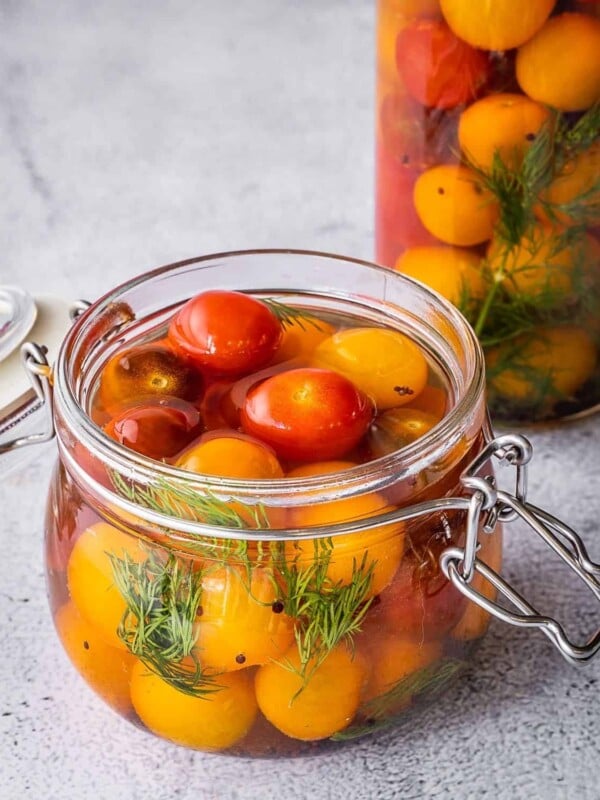
Appetizers
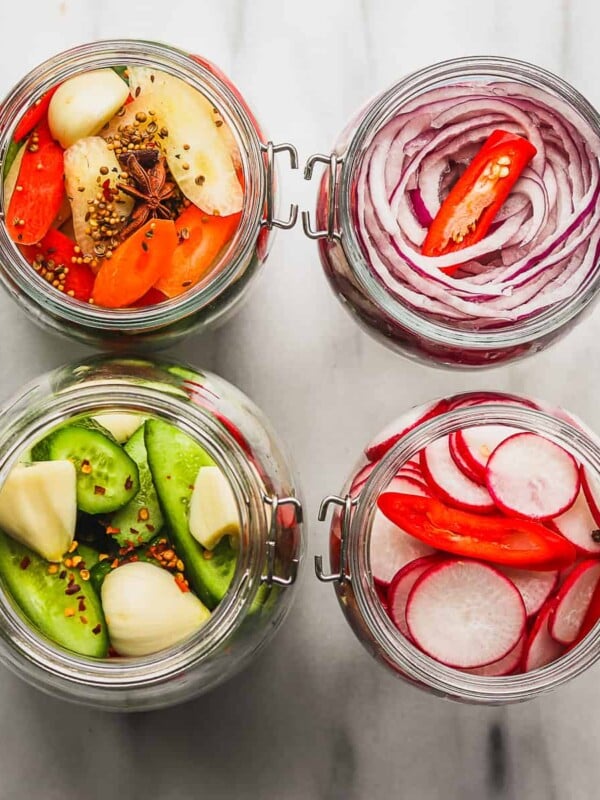
Preservation
Condiments

Condiments
If you make this Lebanese Pickled Turnip recipe or any other recipe on Urban Farm and Kitchen, please take a moment to rate the recipe and leave a comment below. It’s such a help to others who want to try the recipe.
For more Urban Farm and Kitchen, follow along on Instagram, Facebook, and Pinterest, visit the Urban Farm Shop, or subscribe for new posts via email.
Lebanese Pickles (Pickled Turnips)
Equipment
- 1 Clean 32-oz (750ml) mason jar
Ingredients
- 1 cup Water – Hot
- 1 cup Distilled white vinegar
- 1 tablespoon Kosher, pickling or sea salt
- 2 teaspoon White sugar
- 1-2 Garlic cloves – Peeled and crushed
- 1 lb Turnips – Peeled and cut into ½-inch wide and 2-inch long sticks
- 1 Beetroot – Peeled and cut into ½-inch wide and 2-inch long sticks
Instructions
- Prepare the pickling solution. In a large measuring cup, add the hot water, vinegar, salt and sugar. Using a whisk, stir well to dissolve. The warm solution should help dissolve the salt and sugar quickly, but if not, keep whisking. Eventually, they will dissolve.
- Pack the jars. To a clean glass mason jar, add the crushed garlic and black peppercorns. Pack the jars down with turnips and beet pieces. Make sure to pack down as much as possible without breaking any of the turnip sticks.
- Add the pickling solution. Carefully pour the solution into the prepared jar. Tap the jar a few times to release any air bubbles. Make sure the liquid is covering the vegetables all the way, with about ¼ inch clearance from the top of the jar. Cover with a tight-fitting lid.
- Pickle. Place the jar in the refrigerator to pickle for 3-5 days. The liquid will turn a vibrant pink color. Enjoy.
Video
Notes
Nutrition
Nutrition information is automatically calculated, so should only be used as an approximation.
 Like this recipe? Rate & comment below!


Absolutely love your recipe selections and menu planning recommendations.
Your instruction style is exactly what I want 🙏🧑🍳
Looks very easy to make, thank you for sharing. Just a question, do you wait for the brine to cool before pouring over the vegetables? Cheers
You can pour the brine while it’s still warm. You don’t have to wait for it to cool.
I don’t have Beet root but I have beet root that are already cook… can I use them ?
I also have organic Beet root juice with nothing in it other than Beet root and lemon juice in it.
Would one of these tow can be find ?
If so, can you guide me how much please 🙂
I thank you again !