This beginner-level no knead white bread recipe is a great starting point for a beginner home baker. It has a crusty exterior and tender, soft crumb. The recipe does take some time to prepare (mostly hands-off time while the dough rises) but the final loaf will be worth the wait.
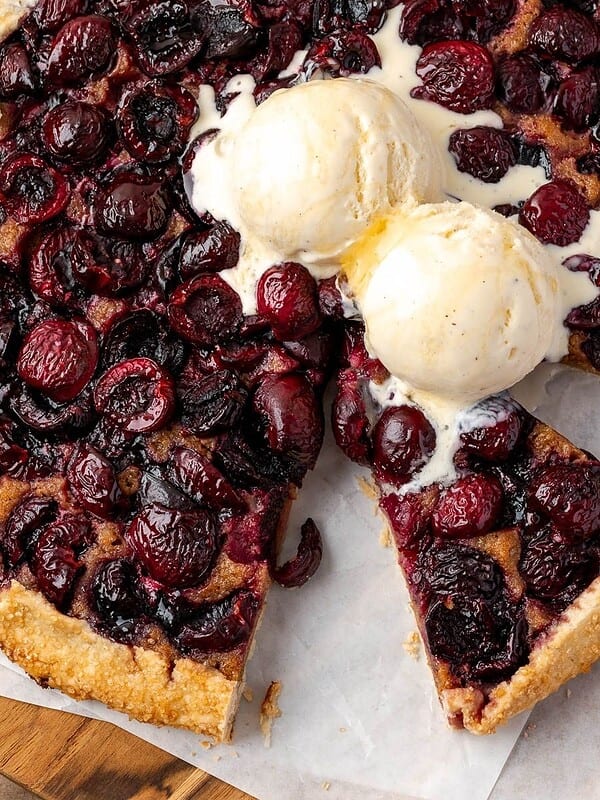
Enjoy this crusty homemade bread with butter, Strawberry Balsamic Jam, Homemade Peach Jam, Homemade Blueberry Compote, Bread Dipping Oil. It can be used as a base in my Burrata Bruschetta or Eggplant Bruschetta.

Table of Contents
I know that baking artisan bread from scratch can sometimes feel intimidating and out of reach for most home cooks. I also used to feel this way. This recipe is perfect for beginners because:
- No fancy techniques are needed. No sourdough starter to worry about feeding and getting just right! No pulling or folding of dough! No complicated shaping or scoring.
- It’s very hands-off! Most of the work happens in the fridge overnight.
What is No-Knead Bread?
No-knead bread refers to bread that is prepared without a stand mixer or hand kneading on the counter. You will find several no knead baking recipes on my website.
The rising (and gluten development) happens slowly. I personally like and prefer no-knead breads and focaccia (try my standard no knead focaccia) because of a longer rise time which has many benefits:
- Enhanced Flavor and Texture: No-knead bread will often have a distinct flavor because of the longer fermentation time.
- Improved Digestibility: Slow fermentation allows the enzymes in the dough to break down complex carbohydrates and gluten, making the bread easier to digest. This can be especially beneficial for individuals with gluten sensitivities.
- Lower Gluten Content: While slow rise breads do not become completely gluten-free, the prolonged fermentation process can break down some of the gluten proteins. For individuals with mild gluten sensitivities, this might make slow-rising bread more tolerable compared to bread made with quick-rise yeasts.
Baking a no-knead loaf does take some time and proper planning, but the results are well worth it. Looking for another no knead recipe? Try my whole wheat focaccia, rosemary parmesan no knead bread, focaccia pizza, tomato focaccia and jalapeno cheddar focaccia.
Ingredients
All you need are 4 simple ingredients!

- Flour: This is a white bread recipe. All-purpose flour is what I use, but you can use bread flour too. If you are looking for a whole wheat flour version of this recipe, try my No Knead Whole Wheat Bread recipe.
- Yeast: I use instant yeast, but you can also use dry active yeast. The truth is, when it comes to no-knead recipes, it doesn’t matter if you use instant or active dry yeast. Make sure your yeast is not old. Old yeast may not be as active and you could end up with dense bread.
- Salt: Salt is an essential ingredient in breadmaking. Don’t reduce the recommended amount.
See the recipe card for full information on ingredients and quantities.
How to Make No Knead White Bread
This recipe comes together quickly and easily, but I do recommend you read through the steps first to get a good feel for it before starting.

Step 1. Mix the dough. Add all the dry ingredients to a large mixing bowl and stir well to combine (Image 1). Add the water and stir using a fork or dough mixer until shaggy. Don’t overmix, just make sure all the flour is hydrated (Images 2-3).

Step 2. Rise. Cover and let the dough rise for 12-18 hours (at room temperature), until the surface is dotted all over with bubbles (Image 4).
Step 3. The next day, form the dough. Very lightly flour your work surface and turn over the dough. It will seem and feel wet. That’s ok. Carefully fold the dough like you would an envelope, turn 90 degrees and repeat. The goal is to form a tight round ball. It doesn’t have to be perfect (Image 5).
Step 4. Transfer to the floured basket. Carefully lift the bread dough ball and place it seam side up in a well-floured banneton basket or bowl lined with a towel (Image 6). If the seam begins to undo itself, carefully pinch the dough. Cover with a kitchen towel (or shower cap) and let the dough rest and rise for 1-2 hours.

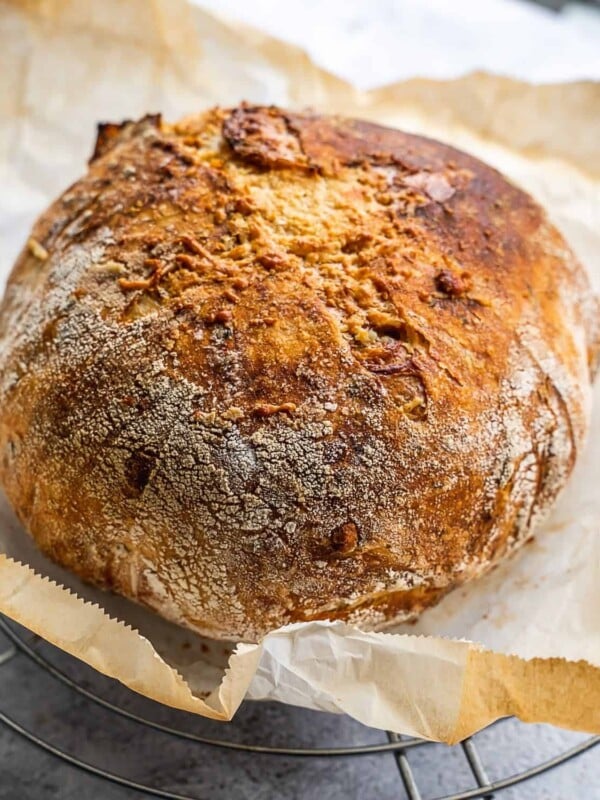
Step 5. Preheat and Prepare. 30 minutes before the dough is ready, place an oven-safe Dutch oven pot in your oven and preheat to 475F. When the oven is preheated and the bread has risen, carefully take out the Dutch oven and remove the lid. Flip the dough ball onto a piece of parchment paper or silicone bread liner (Images 7-9). You can score the bread with a lame or sharp knife if you wish (Image 10).

Step 6. Bake. Pick up the edges of the parchment paper or silicone liner and carefully lower the dough ball into the uncovered Dutch oven (Image 11). Place the lid back on and place the Dutch oven back into the oven and bake for 30 minutes.
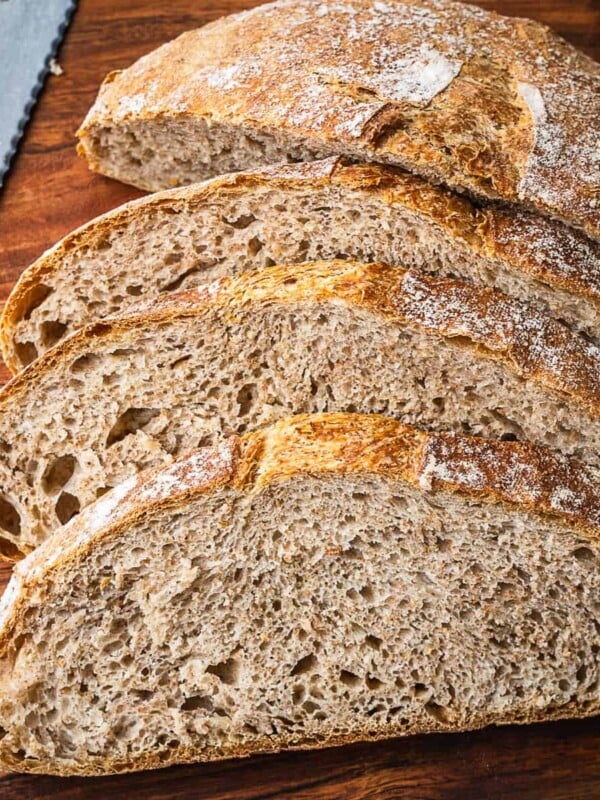
Step 7. Brown. After 30 minutes, remove the lid and continue to bake for another 15-20 minutes, until a golden brown crust forms (Image 12-13). Remove the bread from the oven and allow it to cool completely before slicing.
Expert Tips
- Cold kitchen or baking in the winter months? If your kitchen is on the cooler side, let the dough rise in the oven with the oven light on, or on top of the fridge. Try to find a warm place to help the yeast get to work.
- Cool fully: it’s important for any home-baked bread to be fully cooled before slicing, or you’ll get that pilling/rolling that happens when you cut into it too soon.
- Give it time: the dough must rise for at least 12 hours. Don’t rush the process. You’re using a very small amount of yeast and it needs time to do its work.
- Use light hands: the dough should be handled lightly, especially when shaping, so the air isn’t knocked out of it. It’s important to preserve all that air that the yeast worked so hard to make.
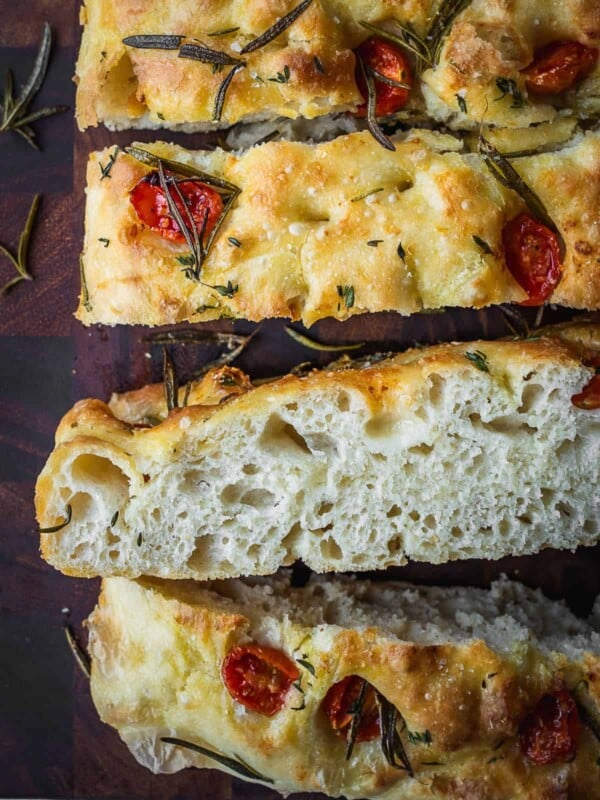
- Get creative. Feel free to add some dried or fresh herbs, seeds, cheese, fruits or nuts to your dough. If you like flavored breads, also try my Rosemary Parmesan Bread and my Za’atar Focaccia.

Recipe FAQs
You can store the bread in a Ziplock bag on the counter for 3 days. You can also pre-slice it and store it in a Ziploc bag.
Yes, I recommend pre-slicing the bread and freezing it in a freezer bag for up to 6 months. When you freeze slices, you can easily take as many as you need out and defrost/toast them.
No-knead bread is often associated with Jim Lahey, an American baker and the owner of Sullivan Street Bakery in New York City. Jim Lahey popularized the no-knead bread method, and his recipe gained widespread attention when it was featured in Mark Bittman’s column in The New York Times in 2006. This recipe is inspired by Jim’s and is slightly different in quantities and technique.
The Dutch oven (or cast iron pot) method is used to help get a good rise and trap steam to ensure a good “oven spring”. Oven spring (aka bread rise) is when the dough rapidly expands and rises in the oven during the initial stages of the baking process. This happens due to the combination of heat, steam, and the leavening agents (yeast or other leavening agents) in the dough. The term “spring” reflects the upward expansion or upward movement of the dough during this phase of baking.
More No-Knead Baking Recipes

If you make this No Knead White Bread Recipe or other baking recipes on Urban Farm and Kitchen, please take a moment to rate the recipe and leave a comment below. It’s such a help to others who want to try the recipe.
For more Urban Farm and Kitchen, follow along on Instagram, Facebook, and Pinterest, visit the Urban Farm Shop, or subscribe for new posts via email.
No Knead White Bread Recipe

Equipment
- Kitchen Scale – Optional
- Danish mixer – Optional
- Banneton basket – Recommended
- Silicone Bread Lifter – Recommended
Ingredients
- 3 ½ cups All-purpose flour – 465 grams
- ¼ teaspoon Instant yeast – 1 gram
- 2 teaspoon Kosher salt – 10 grams
- 1 ½ cups Lukewarm water – 350 grams
Instructions
- Mix the dough. Add all the dry ingredients to a large bowl and mix well to combine. Add the water and stir using a fork, wooden spoon or dough mixer until shaggy. Don’t overmix, just make sure all the flour hydrated.
- Rise. Cover with plastic wrap and let the dough rise at room temperature for 12-18 hours, until the surface is dotted all over with bubbles.
- Form the dough. Turn the dough over onto a lightly floured surface. It will be shaggy and feel wet. That’s ok. Carefully fold the dough like you would an envelope, turn 90 degrees and repeat. The goal is to form a tight ball, with a seam on the bottom touching the work surface. It doesn’t have to be perfect.
- Transfer to the basket. Carefully lift the dough ball and place it in a well-floured banneton basket (or bowl lined with a towel), ensuring that the seam is facing up. If the seam begins to undo itself, carefully pinch the dough. Cover with a towel and let it rise for 1-2 hours.
- Preheat and Prepare. 30 minutes before the dough is ready, place an oven-safe Dutch oven pot in your oven and preheat to 475F/240C. When the oven is preheated and the bread has risen, carefully take out the Dutch oven and remove the lid. Flip the dough ball onto a sheet of parchment paper or silicone bread liner. You can score the bread with a lame or knife if you wish.
- Bake. Pick up the edges of the parchment paper or silicone liner and carefully lower the dough ball into the uncovered Dutch oven. Place the lid back on and place the Dutch oven back into the oven and bake for 30 minutes.
- Brown. After 30 minutes, remove the lid and continue to bake for another 15-20 minutes, until a golden brown crust forms. Remove the whole wheat loaf from the oven and allow it to cool completely on a wire rack before slicing.
Notes
- Flour: This is a white bread recipe. All-purpose flour is what I use, but you can use bread flour too. If you are looking for a whole wheat version of this recipe, try my No Knead Whole Wheat Bread recipe.
- Yeast: I use instant yeast, but you can also use dry active yeast.
- Salt: Salt is an essential ingredient in breadmaking. Don’t reduce the recommended amount.
Nutrition
Nutrition information is automatically calculated, so should only be used as an approximation.
 Like this recipe? Rate & comment below!